Showing posts with label box braids. Show all posts

Monday, April 16, 2012

Old Reliable - Box Braids

We decided that since we just had to trim Syd's hair due to damage, maybe it was time for a little protective styling. We've been doing twists almost non-stop for months, so we settled on one of our favorite protective styles - box braids.

I did these braids on Syd's straightened hair, which made parting her hair a breeze. I used my regular crescent shaped parts, starting in the back and making half-moon shaped parts that build on each other as I move up her head. I also added a bit of Bee Mine Curly Butter to each little section before I braided it.


.

Since her hair was straight when I braided it, the ends didn't have any curl to keep the braid from unraveling. To fix that, we just wet the very ends of her braids with water and some Bee Mine Luscious Balanced Cream Moisturizer after the style was complete. The ends coiled right up, ensuring that the braids won't be able to unravel on their own.


These braids have already been in for almost a week and they still look fabulous. I wonder how long they will last!

Sunday, November 6, 2011

Box Braids

Since I haven't been physically well lately, I haven't been up to spending much (or any) time doing hair. As a result, Syd's hair has been in a twists-twist out-repeat cycle. Today I was finally feeling a little better, so I decided to end that cycle.


We opted to do some box braids, which I'm hoping will last until my health is back at 100%. The braids are also a good choice for right now because the weather here is supposed to be colder, rainy, and windy for a while. Box braids hold up better than most other styles in weather like that.

I started by moisturizing her hair with Curls Creme Brule and then banding it with ouchless bands overnight. Yes, the parts are crazy, but I only used my fingers since I knew the bands were coming out in the morning.

When the bands came down in the morning, we had to leave for church so I put her hair into one big braid. And then I forgot to take a picture of it. Sigh.

When it came time to start the box braids, I started at the back and made my usual crescent shaped parts for her braids. You can click here to see a post that explains this parting method.

When I got to the top, I added a slightly angled side part. This disrupts the uniform crescent shaped parts, but I'm never worried about that. They braids lay nicely enough to hide the awkward parts.

Since I didn't want to spend all day on this style, I made the braids a little bigger than I normally do. When we were finished, there were 68 braids and it took right around 4 hours with a couple very short breaks to stretch our legs. Once the braids were finished, I added a little Bee Mine Luscious Moisturizer to the ends, which will also curl up more once they get wet. Here was the final result.
 

Monday, September 19, 2011

Laced Cornrows and Box Braids

Syd had a big (40 schools!) cross country meet last weekend. She wanted something unique for her hair, and since she liked the way our last lacing style looked like laced up running shoes, I decided to go ahead and create another laced style.

I started by parting her hair from ear to ear and putting the front part of her hair into 8 cornrows.

I put the hair in the back into about a dozen big box braids. The parts weren't perfect or even, but Syd's hair is thick enough that the braids hid the imperfections.

I then used a plastic craft needle to weave some green and white ribbon (school colors) between two of the cornrows on each side of her head, much the same way that you would lace up a pair of sneakers.

The picture below shows which cornrows I used for the lacing. Each side had four cornrows, and I did the lacing between the second and third cornrows on each side.

Hair was laced up, time to do the same for the shoes.

When it drew closer to race time, we pulled all the braids back into a low ponytail to keep her hair off her neck.

And of course....I couldn't end this post without allowing Syd to show off her 3rd place medal. :)

Thursday, July 14, 2011

Return of the Box Braids


Syd's box braids are back! Tomorrow morning we will be leaving on a 9 day missions trip to Guatemala and we needed a style that will hold up while we're gone. I thought about doing mini twists, but Syd offered some input. She said that twists are a lot hotter on her head than braids because they don't keep the part lines as exposed as braids do. She said she can feel the breeze on her scalp when she wears braids so her head doesn't feel as hot. Since we'll be without air conditioning in an area where the temps will be in the upper 90's every day, I figured I had better do what I can to keep her as cool and comfy as possible. Enter box braids.

I aplogize for the poor quality of some of these photos. My camera is already packed so I just used my phone.

The other night, Syd washed her hair. I added some Shea Moisture Curl and Style Milk, thoroughly detangled, and banded her hair overnight. The next morning, we started with her hair looking like this.

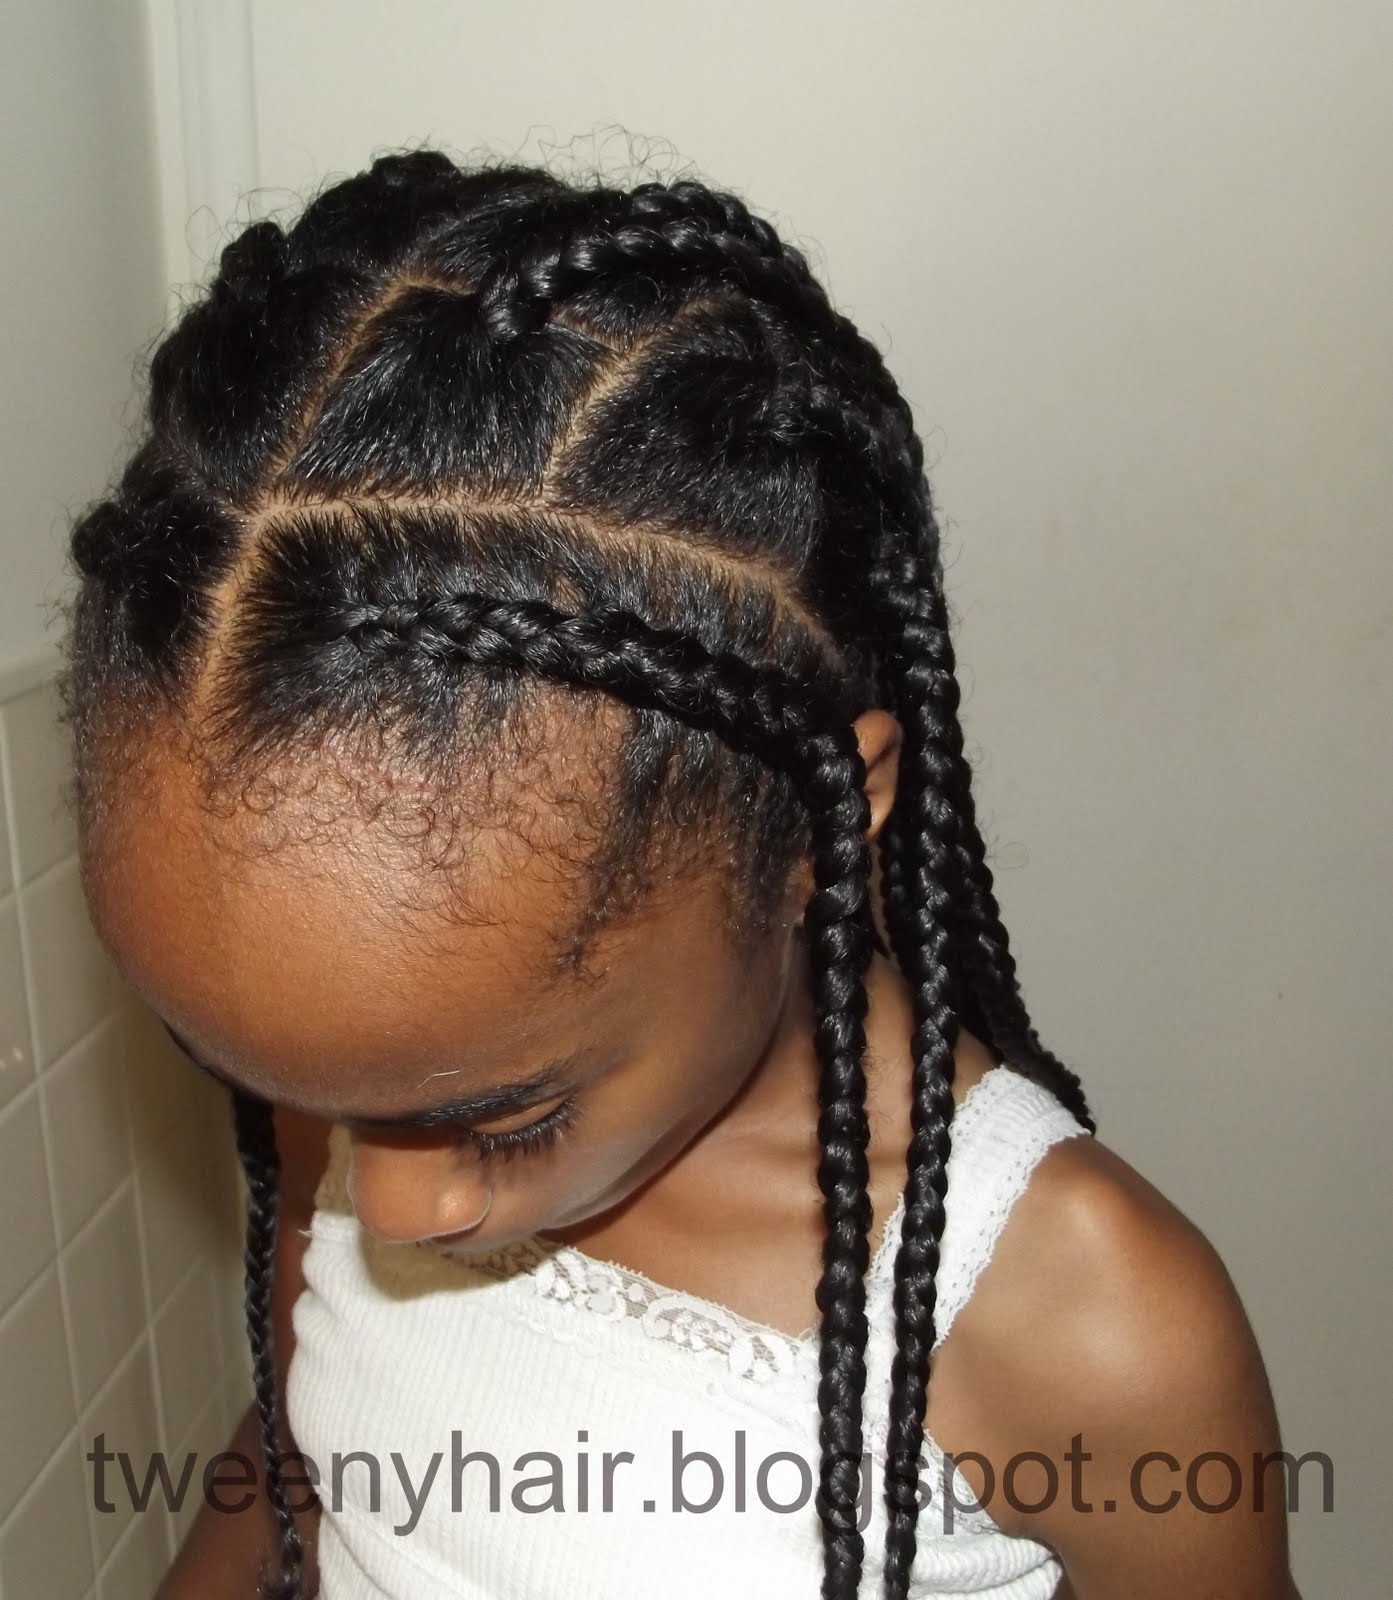
I started in the back, using crescent shaped parts. I wasn't at all concerned with making the parts looked perfect because I figure her hair will probably be up for most of the time we're gone and her part lines will rarely be visible. I added just a bit of my shea butter-coconut oil-jojoba oil-vitamin E oil mixture to each section and then braided it until I was an inch or so from the end. Here's what the first dozen looked like.

After I finished around 30 braids, we had to go run a few errands, so I had to find a way to make her hair look decent. We went from this:
to this:

Unless you look closely, you'd never be able to tell there are over 30 braids hiding in the middle of these banded pigtails. The look is a little juvenile for an 11 year old, but it did hide the half-done hair and Syd really isn't too concerned with what others might think.

We did another 20 or so braids that evening. I spent about 3 total hours the first day and ended up with 58 braids. We re-banded the hair that was still out and she went to bed.

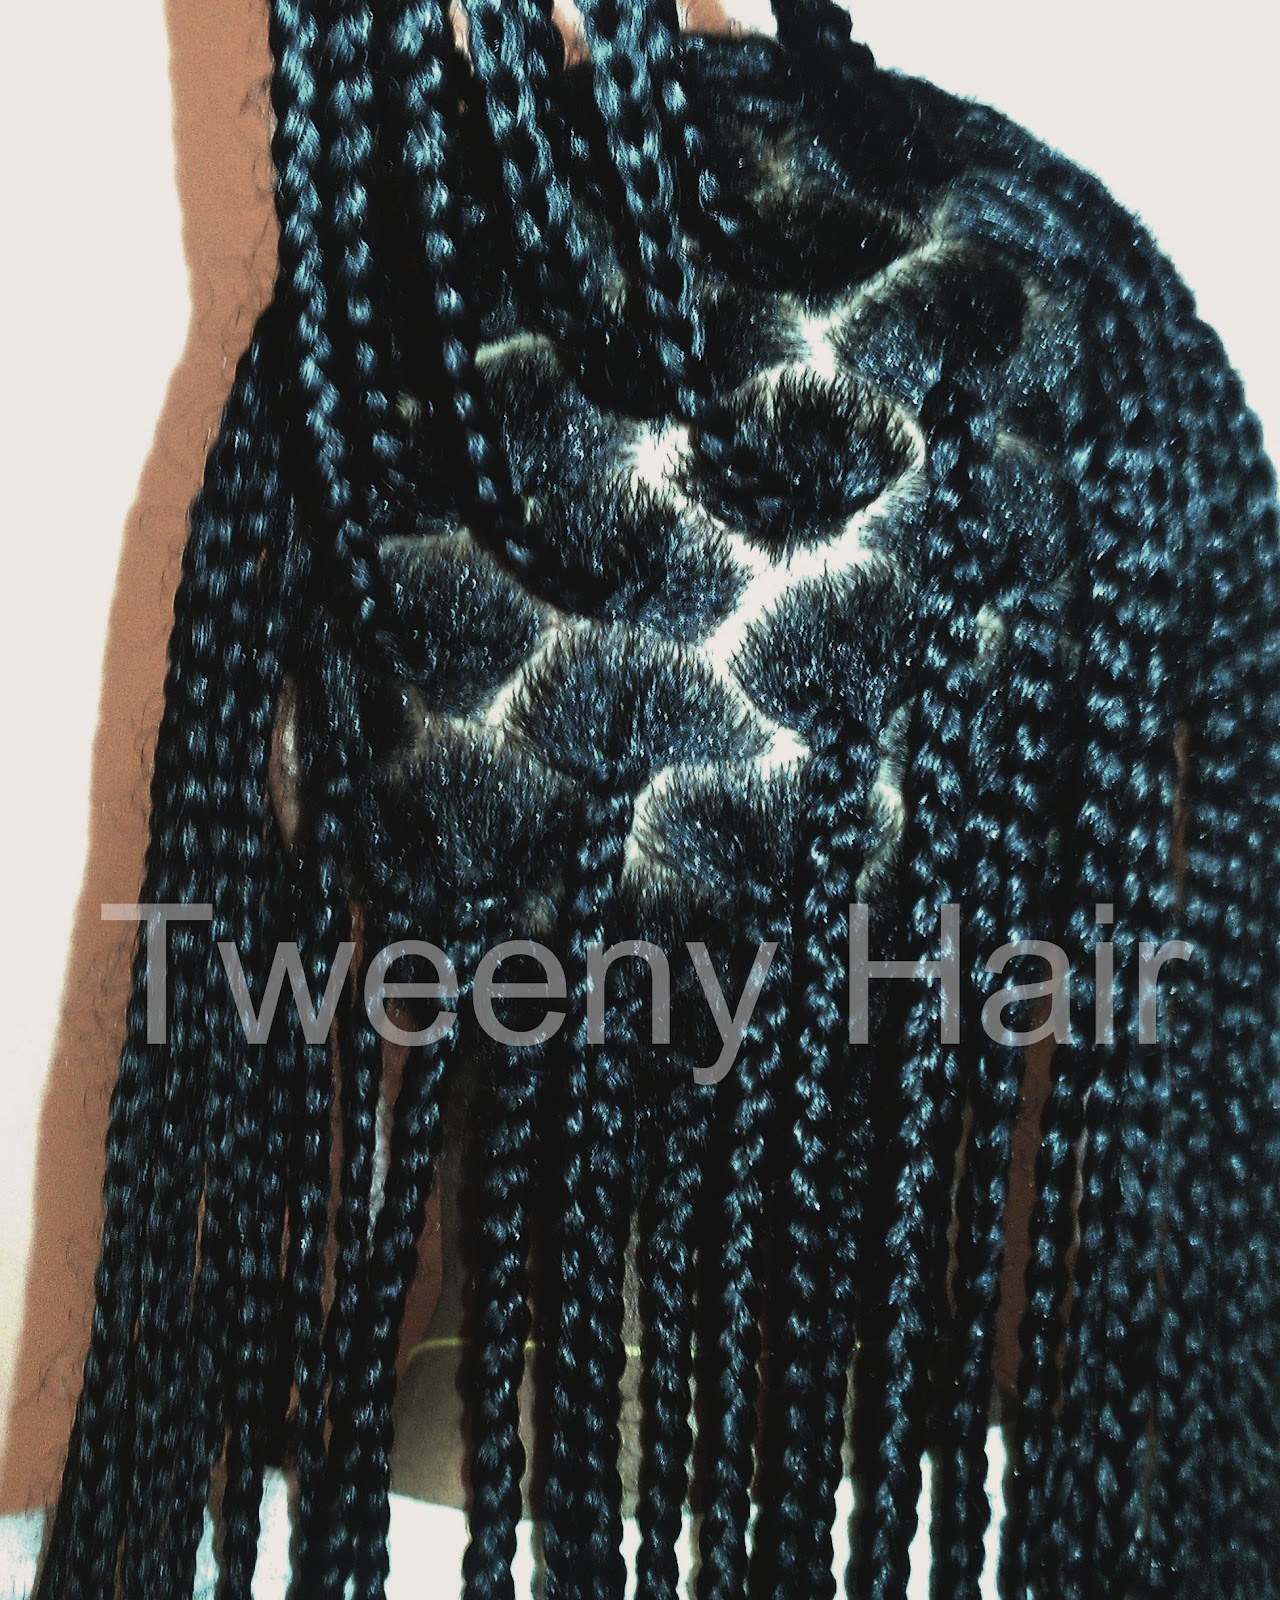
I finished her braids the next day. When I got to the top I made a small side part, but again I wasn't too worried about what the parts looked like. The sections aren't all shaped alike, but the braids are about the same size. Here's what the top looks like:

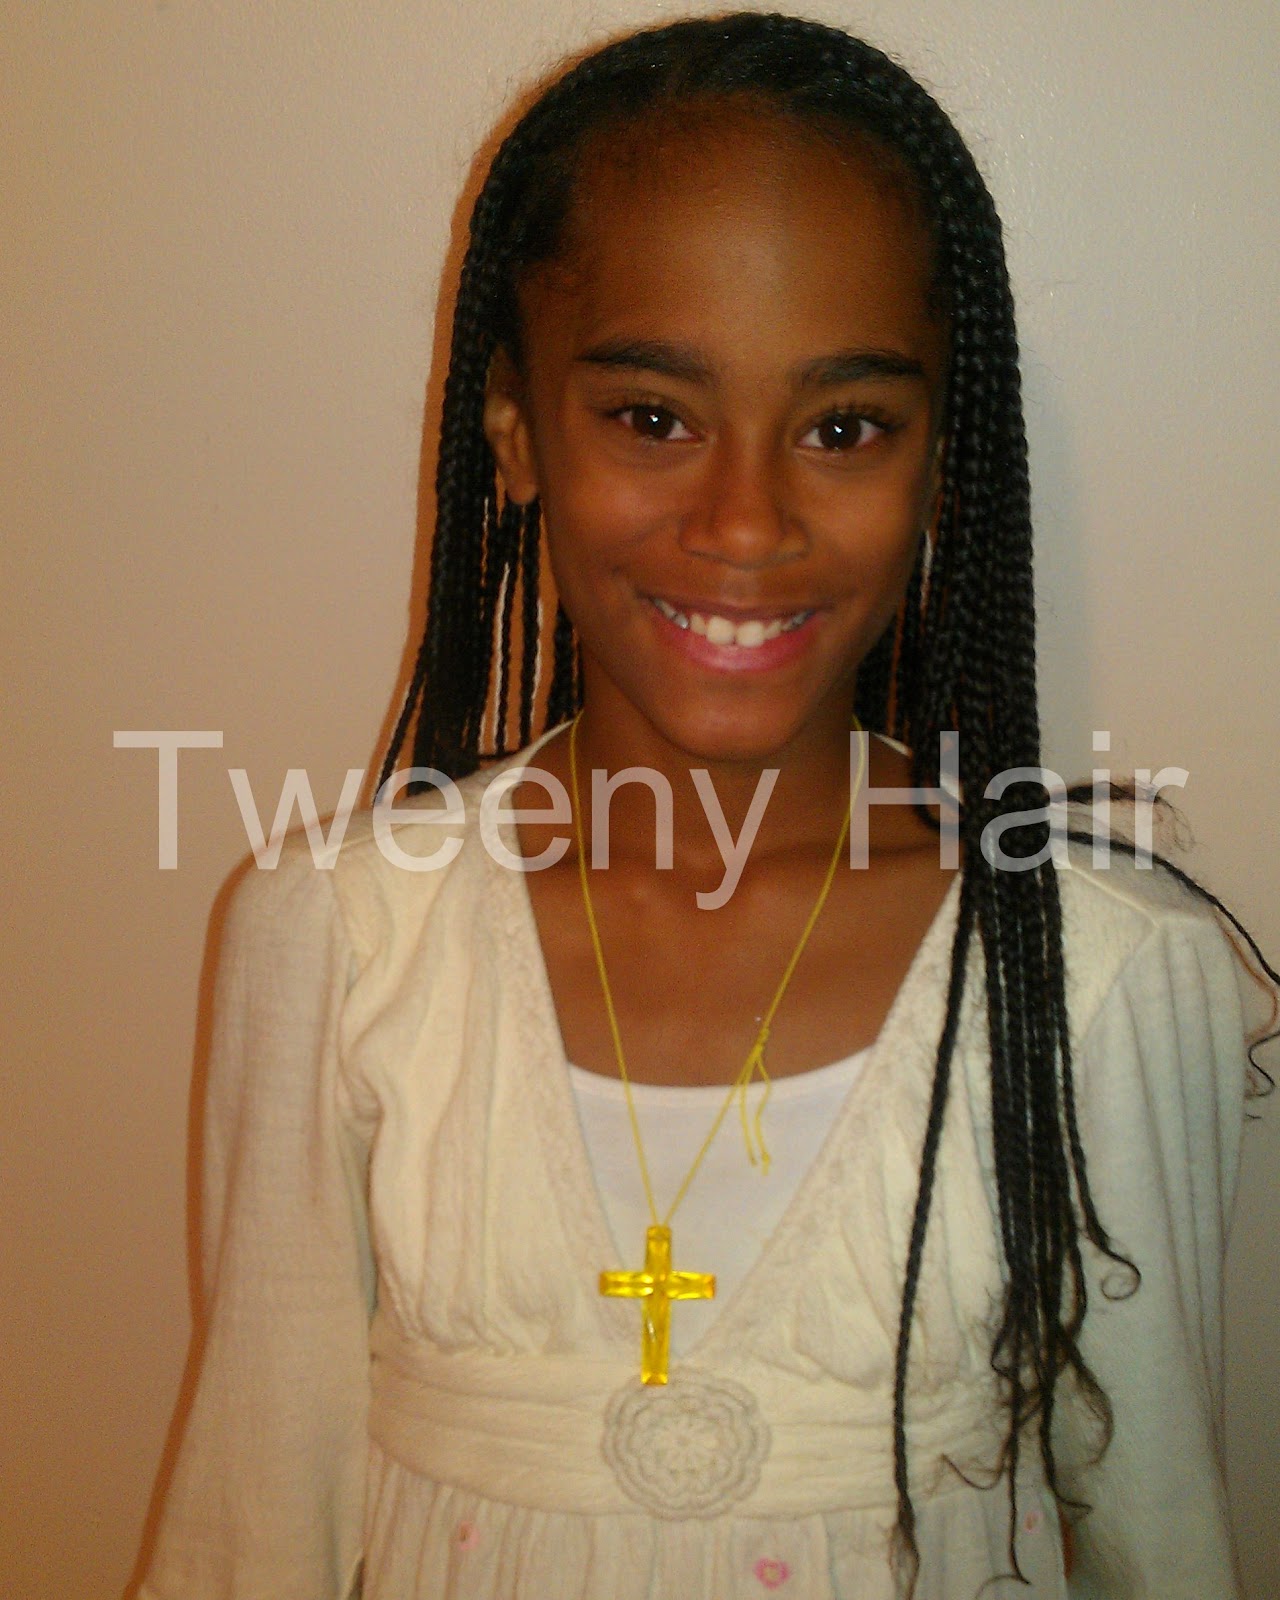
Since the hair was dry when it was braided and the ends were left free, the braids were fluffy at the end. I dipped the ends in some water and added just a little Shea Moisture Curl Enhancing Smoothie. This made the ends curl up and give the style a more finished look. In all, I spent just under 7 hours braiding and we have 128 braids.


As a fun little bonus, check out this picture of Syd and her cousins. This was what she did while I took a short break from braiding. Her french braids are really starting to look good!

Monday, June 27, 2011

The End of the Box Braids

Sorry that I've been MIA lately. The last couple of weeks have been strange for us. Syd went to camp for a week. The day after she came back, she went to stay with family members while I went on a mini vacation for a few days. We saw each other for a day and a half, and then Syd took off to go camping with my brother and his family. We finally met up at a family reunion the other day and I brought her home with me so we can finally spend some time together.

All this means that Syd (and her hair) haven't seen me or had my help for about 2 and a half weeks. As a result, Syd's box braids were looking kind of rough. I also only have a couple of picutres of her hair during that time.

The picture below was taken the day before she left to go camping, so the braids were already 2 weeks old. Her hair was slightly wet here because she had been caught in the rain just before I snapped the picture.

Later that day, I washed her braids and put them into 2 cornrows for her camping trip. I used Kinky Curly Knot Today as a leave in and then used Kinky Curly Curling Custard to hide the fuzz and hold the cornrows for the duration of her trip.


When we came home a few days later, I removed the cornrows and put the resulting crimpy-looking braids into 2 low pigtails. After 3 days of camping, playing with cousins, fishing, and bike riding, the fuzz was back in full force.


This was the last day of the braids. They could have lasted a little longer, but Syd isn't a fan of the fuzz and we were ready for something different. The 101 box braids were in for a total of 18 days.

Monday, June 13, 2011

Box Braids for Camp

Syd left this morning to spend a week at camp (insert nervous/sad mommy face here). Since I won't be there to help her with her hair, I had to figure out what would be easiest for her. I decided to give her some box braids. They should hold up even though she's going to be sweating and swimming every day.

I normally make crescent shaped parts when I do box braids, but this time I opted to just go ahead and part little squares. Here's what it looked like as we went through the process.


After the back was done, I threw the front of her hair in a couple of knots so we could eat dinner and run to the store. Then we sat back down that evening to finish up. We spent a total of around 5 1/2 hours on this style, not including the breaks. At the end of the evening, Syd had 101 braids and I had tired fingers.


I stressed the importance of moisturizing her hair every day...especially if she swims every day. This is the first time she will have to maintain her hair by herself for any length of time, so I'm interested to see how it holds up. But more importantly, I just can't wait to hug her and hear about her week away from home!

Monday, May 9, 2011

Simple Style - Cornrows and Box Braids

I know I haven't posted many hairstyles lately. Truth be told, we've been so busy around here that we've been mostly doing simple twists, braids, and their respective "outs".

Tonight I was getting ready to do some twists so she can have a twist out tomorrow, but then I remembered that there are supposed to be storms almost every day this week. I had just under an hour before we had to leave the house, so I couldn't do anything too time consuming. I sat down, comb in hand, without a plan but knowing that I needed to do a style that is quick, will last the rest of the week, and will hold up through walks to and from the bus stop in the wind and rain. That's not asking too much, right? LOL!

Here's what we came up with:

Syd's hair had previously been in 2 thick cornrows, so it was already slightly stretched and still pretty much completely detangled (thank goodness!). I made two cornrows at a slant from the center front of her hair down to just above her ears.

After that, I put the remaining hair into relatively big box braids. There are 24 braids back there all together. To make the style look a little more polished and less "kiddy," we pulled all the braids into one low ponytail and added Syd's favorite big flower.

We snapped a couple pictures and were out the door with about 10 minutes to spare!

She'll probably change the location of the ponytail (higher, to the side, etc.), braid the ponytail, and change the accessories throughout the week. Being able to change things up makes her happy and allows her to put her own stamp on her hair.

Now that Syd has outgrown so many of the quicker styles she used to love, I think I need to come up with a few that are fast and have a bit of staying power. Do you have a specific go-to style for when your time is somewhat limited?

Wednesday, April 6, 2011

Side Cornrows and Medium Box Braids


When I asked Syd what kind of style she wanted, she said she wanted something with cornrows. But have you ever had one of those days where your fingers just don't cooperate? I have those days from time to time, and this was one of those days. I decided that I would give Syd the cornrows she wanted, but only a few of them.

Was this cheating? Perhaps. But that's what I did. :)

I convinced my fingers to put a few cornrows in the front right section of her hair, starting the cornrows just above her ear and moving toward a part in the center of her head.


Then I put the rest of Syd's hair into medium-sized box braids. I used a brick pattern when parting out the boxes so most of the parts are hidden by the braids hanging down. We didn't use rubber bands at the bases or ends of the braids.


Syd loves the side cornrows. It's just a few braids, but they really give a basic box braid style a completely different look. Maybe my fingers will be more cooperative next week and Syd can have the cornrow style we had planned.


Pleather pants and lip gloss...moments like this remind me that my baby isn't a baby anymore. (sigh)

Saturday, February 12, 2011

Quick Before School Box Braid Styles

One of the things I like most about box braids is how easy it is to change up the style in just a few minutes in the morning. And Syd loves that she is able to add accessories (she loves flowers) and do some simple styles by herself. There were a few days that she wore the braids down with no accessories, but here are the simple ways we dressed up her look during the last week and a half. I think all of these took 3 minutes or less - perfect for busy mornings!

I french braided the sides, connected them at the back, and let the rest hang in a pony.

Syd pulled just one side back and held it in place with a purple flower.

We pulled the top back and added 2 flowers to hide the ouchless band.

One low pony with a big flower.

All the braids gathered into one french braid.

She slept in 2 french braids (sorry, I forgot to take a pic). In the morning, we removed the braids and pulled half of it up.  


I'll be removing these braids tomorrow, which means they lasted just under 2 weeks. Box braids usually last us 2-3 weeks before they get too fuzzy for our liking, but I gave Syd a new hat a few days after styling and she has been wearing it A LOT. That made the fuzz show up a lot faster than it usually does. But hey, the hat is cute and she's a happy kid, which is so much more important than making the style last longer!

Monday, February 7, 2011

Box Braid Updo

Someone asked me last week if I had any updo ideas for tweens. Since Syd's hair is currently in box braids, my first instinct was to say that I would work on an updo style as soon as the braids come down. But then I had another thought. What about girls who are wearing braids when it comes time for a school dance or other formal event? Surely we can find a pretty style to do without having to remove the braids!

So I sat down with Syd and started experimenting. For some reason my mind almost immediately went back to this style that Katie did a few months ago over on Happy Girl Hair. I basically followed the same steps Katie described, but I used all of Syd's hair instead of just the top, and this is what I came up with.


Believe it or not, this was actually a pretty easy style. First, I took the top section of her hair and tied it in a knot like this:


Then I took the hair that was hanging down from the knot, added a bit of hair from each side and tied another knot like this:


I repeated that step two more times until all her hair had been incorporated. I added an ouchless band at the base of the bottom knot and then tucked all the remaining hair up under the knots and secured it with a couple hair pins. This style can easily be dressed up with some sparkly accessories or flowers.


I think I'll try this style again sometime in the future when her hair isn't in the braids. I'm interested in seeing how that would turn out!


LinkWithin

Related Posts Plugin for WordPress, Blogger...