Showing posts with label styles. Show all posts

Friday, March 16, 2012

Quick Pretty Style with Twists

There was a dance at Syd's school last week. It was really just an informal thing where most kids wore jeans, but Syd and her friends wanted to dress up....so they did!

(Gotta love it when they display their personalities with confidence!)

Syd's hair was in about 120 twists, so that meant parting for an intricate style was out of the question. Then I remembered that there was still a center part under those twists from the cornrow style she had before I did the twists.

I decided to use that center part and make two french braids that met at the nape of her neck. I gathered the ends of both french braids into one ponytail and added a flower that coordinated with her dress. The style took less than 5 minutes, but definitely looked nice enough to wear while all dressed up.


And because I'm a proud mom who loves showing off my pretty girl, here's a shot of her right before she walked out the door. :)

Wednesday, February 22, 2012

Simple Cornrow Style: Half Up

It's been a while since I've done an actual style post. This is mostly because we've fallen back into our simple twists/twist out/repeat routine lately. I did finally find the time and motivation to do some cornrows, but somehow ended up doing one of the simplest cornrow styles in our aresenal.

One of these days, I'll get my creative juices flowing again! But until then, here's a simple one for ya:


The instructions for this style are probably explained simply by looking at the pictures. I first cornrowed the back half straight down. I then cornrowed the top half toward the center of her head and joined them with an ouchless band.

We were able to jazz this style up a bit by adding different colored flowers and other accessories to the pony on top each day.

*Sidenote: See how the ends of her cornrows are looking straight instead of curling up? That means a trim is long overdue. That will be happening very soon!

Tuesday, January 3, 2012

Many Mini Twists


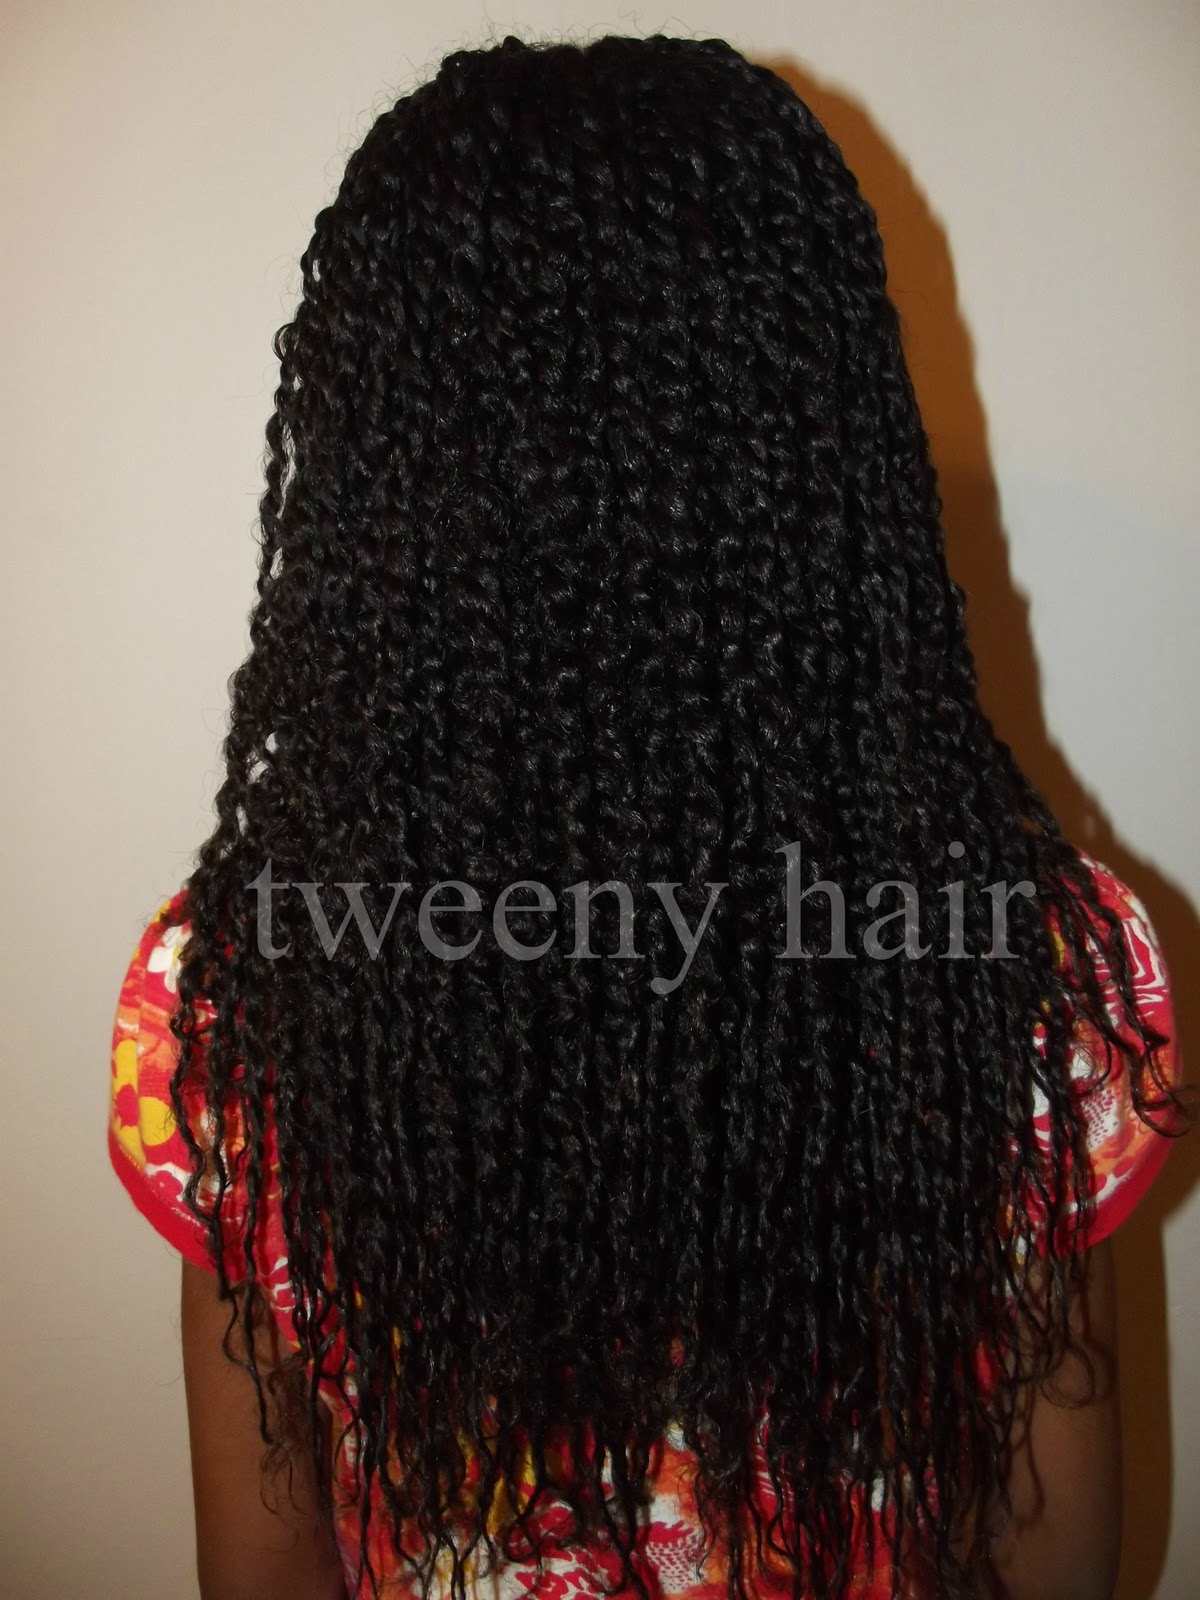
Syd and I decided to use the long holiday weekend to give her a head full of small twists. Since it takes so many hours to finish the style, we used a slightly different method to do these twists so that we could hide the half-finished state of her hair if we needed to. Here's how we did it.

We started out by having her hair washed, detangled, moisturized (Bee Mine Luscious Moisturizer), and put into 30 braids. As I turned each braid into twists, I added just a bit of Miss Jessie's curly pudding for some extra hold.


Each of those braids was turned into 6 twists, with the exception of the braids at her crown. Several of those were turned into 9 twists because her hair is so much thicker right there. Below, you can see the step by step process of turning one braid into 6 twists.


In order to make it possible to hide the half-finished state of her hair, I started the twists at the back of her head, then moved up to the very front.


Once the braids around the perimeter of her her head were transformed into twists, we took a break. I pulled all of her hair into a ponytail and the braids were covered by the twists. Although she didn't have anywhere to go, she could have easily worn this ponytail to school, if she needed to. Some of the braids were peeking through just a bit, but it wasn't very noticeable and still looked ok to wear as an everyday style until the twists could be finished.


A while later, we finished the twists. The actual styling time was just over 6 hours and we had right at 200 twists.


You can see here just how thick her hair is and how many twists there actually are on her head.


When it was time for bed, I pulled her hair into a ponytail and wrapped a satin hood-style scarf around her head, with the ponytail hanging out the back. She also slept on a satin pillow case to preserve the twists as much as possible.


Syd will probably wet her hair today. She likes the look of mini twists after they shrink because she says they look fuller. Go figure, the girl who loves big hair wants the twists to look as full as possible. I guess that shouldn't surprise me, huh?

Stay tuned for pictures of her shrunken twists, updates about how they hold up over the next couple of weeks, and pictures of the different styles she wears with them!

Thursday, December 15, 2011

Twists and Side Cornrows

We've been in a creative hairstyle slump lately. Life is hectic at this time of year, so we've been sticking with basic twists, twist outs, and ponytails. Here's an easy way to add a bit of interest to an otherwise simple twist style.

I did 6 cornrows halfway back on one side, secured them with lime green rubber bands, and twisted the remaining hair. It didn't take much time at all, but it was a nice change from the "boring" styles she's been wearing so often.


This style had a bit of staying power, as well. After the twists started looking fuzzy, we removed them and she had a twist out for a couple more days.


Relatively quick, easy (as long as you can cornrow), and lasted an entire school week. That makes it a winner in my book!

Monday, November 28, 2011

Twist - Twist Out - Retwist

Syd has been wearing a LOT of twists lately. It's quickly becoming her signature style. Here's a picture of some medium sized twists she wore last week:

She only wore those twists for one day because we wanted a big, full twist out for our Thanksgiving get together with my family. It was almost painful to remove such pretty twists when they were still looking so good! Luckily, it made for a wonderful looking twist out.


She wore that twist out for two days, but we had to twist her back up because this week is going to be a busy, rainy week and we won't have much time to worry about hair.

Since her twist out was still really defined when I was doing a new set of twists, I decided to let the definition help me out. I simply grabbed each tendril that resulted from the first twists, lightly misted it with just water, and twisted. Her hair still had enough product in it from the first twists, so we didn't have to add any more product.
Each defined section of hair went from this...

...to this!
Since each twist from the first set made two defined tendrils, the second set of twists had twice the number of twists as the first one did. Here was the final result:


These 78 twists (yes, we counted) should definitely get us through the week. Maybe even longer!

Tuesday, November 1, 2011

Halloween Hair

Let be start off by apologizing for my absence recently. I've been struggling with some health issues and hair/blogging has been knocked down a few pegs on the priority list. Syd has only been wearing two strand twists and twist outs for the last couple of weeks, but we'll get back to doing more fun hairstyles soon.

And now....on to our Halloween Hairstyle!


Syd dressed up as the Mad Hatter this year. The pictures in this post were taken just before she headed out to a costume party.

Since the Mad Hatter is actually male, I didn't really have a specific hairstyle to try to pull off. I didn't even have a plan when it came time for the style...I just sat down with some bobby pins and started using them.

We began with Syd's standard style, a basic two strand twist out.

I pulled the top back into a standard half up - half down style and secured it with an ouchless band. Then I divided the hair in that band into 4 sections. I twisted each section around itself and pinned them into place. It ended up reminding me a little of a four leaf clover. I then added the top hat just in front of the clover shape, pinning it into place with a few bobby pins.

I have a couple of pink clip-in human hair extensions, so we decided to use those for this style to make it look a little more eclectic. I used Curlformers to curl them, but the extensions didn't have enough time to dry completely and the curls were still much looser than her twist out pattern. One was actually still so damp that it lost almost all the curl within an hour. Oh well...that just added to the fun look.
She had a blast at the party and her hair held up the entire night, despite the fact that she spent quite a bit of time jumping on a trampoline. Thank goodness I used more bobby pins than I thought I needed!

This costume fits her personality PERFECTLY! I love it!


Photobucket

Got Halloween photos to share? Get the linky code and link up!

Tuesday, October 18, 2011

Changing Big Twists to Little Twists


Syd had worn some thick two strand twists for just a few days, but they were exposed to rain and lots of wind, so they were starting to look pretty rough. The picture below doesn't really seem to show how much fuzz there actually was.


Instead of removing all the twists and doing a whole new style, I opted to change these big frizzy twists into smaller ones.

I did this by removing one twist at a time. After a twist is removed, it leaves behind two tendrils of detangled hair.


I added a bit of Oyin Handmade Burnt Sugar Pomade to each tendril and turned each one into a new, smaller two strand twist.


I removed each big twist on her head one at a time and turned it into two fresh looking twists before moving on to the next one. Here is what it looked like after I had done about a third of her hair. You can see the difference between the bigger twists that looked old and the fresh new smaller twists that looked a lot neater.


Eventually I was done with all of her twists. This was a great way to move from one style to the next without having to fit an entire detangling session in between. And really...you just can't go wrong with a head full of basic two strand twists!

Thursday, October 13, 2011

Syd Gives Herself a Braid Out

By now, Syd has become a pro when it comes to washing and detangling her hair without assistance from Mom. Unfortunately, she's not able to do many styles on her own. We decided to work on that and Syd did a braid out by herself for the first time.

She started by removing her Breast Cancer Awareness style. It had been in for about a week and a half and was very fuzzy. Her hair was still clean and didn't have any build up, so we moved straight from one style to the other without a wash in between.

I told her not to remove the entire style right away. She has a lot of hair and I thought it would be easier to work in sections, so she started by only removing the back section of the style. Then she split the back in half, putting the left part into a big loose braid to keep it out of the way. She focused on the back right section of hair first.

Now I had her divide that section of her hair into fourths again so that there will be four braids made out of this section. Just before braiding each section, she dampened it with a spray bottle and added a bit of Curls Creme Brule. Then she finger detangled, ran her denman through the section to distribute the product evenly, and braided it up. I stressed to her that she needed to start the braid as close to her scalp as possible and keep the braid tight all the way down.


Before long, that back right section was in four braids.

She did the same thing to the back right section and then moved up to the top, where the process was the same.


After what she said felt like forever (although the whole thing took less time than I expected), she put the last braid in.

She slept in those braids and removed them before school the next morning. I didn't get pictures of the removal process. We were a little rushed getting ready for the day, but she got the braids out while keeping most of the definition.

Since she had a hard time getting some of the braids close to her scalp, her roots were pretty fuzzy. She pulled the front half up, secured it with an ouchless band, and headed off to school.

Braid out success!


LinkWithin

Related Posts Plugin for WordPress, Blogger...